

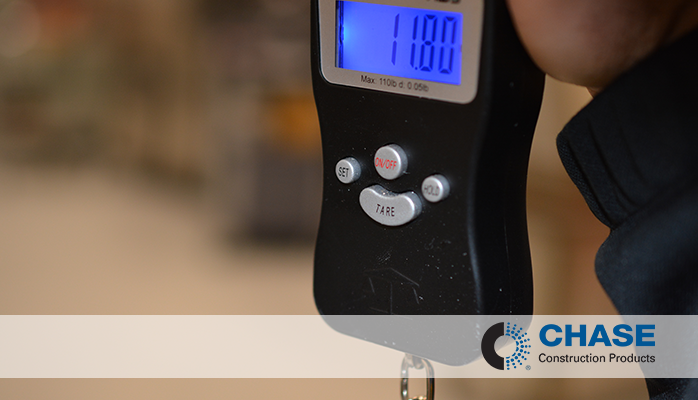
 Image: Electronic scale to measure peel
A common request by our customers is to perform an infield test on a wrapped pipe to confirm that the tape system has been applied correctly and the tape is performing as per design.
The “peel test” is a typical industry standard procedure that offers the opportunity to see under real conditions that the tape has been applied correctly.
According to the manufacturer, the adhesion should be cohesive (see photo 1) and should adhere to both the substrate and the pipe itself.Testing Conditions:
One thing to note is that results between field applied and laboratory applied tapes may differ. Technical Data Sheets (TDS) represent tests performed under ideal laboratory conditions; however, often times, onsite testing results will vary and show lower peel values depending on the conditions.
Additional effects:
Adhesion is dependent on the “wetting-in period”. It is important that peel tests are conducted within a specified time period (as provided by the manufacturer
- Material and substrate temperatures will affect the peel adhesion recorded. Temperature conditions should be recorded to allow a meaningful comparison of test results.
- Adhesion measured in the field often deviate from what has been determined under controlled laboratory conditions and should be used only to provide a general indication of product performance.
What do you need to complete the peel test?
Materials
- tape to be tested
- primer if appropriate
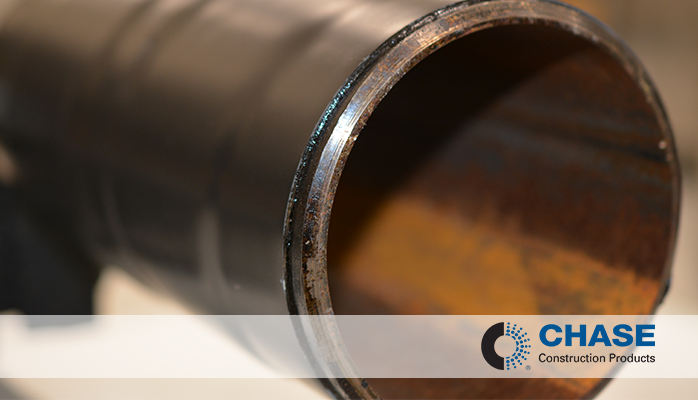
Image: Pipe wrapped with an anti-corrosion tape
Equipment
- 25 mm wide cutting template [steel strip or masking tape]
- asymmetric roller grip
- cut-resistant glove
- marker pen [black or white depending on substrate colour]
- sharp knife
- spatula
- spring balance of appropriate capacity
- steel ruler
- stopwatch
- temperature measuring devices
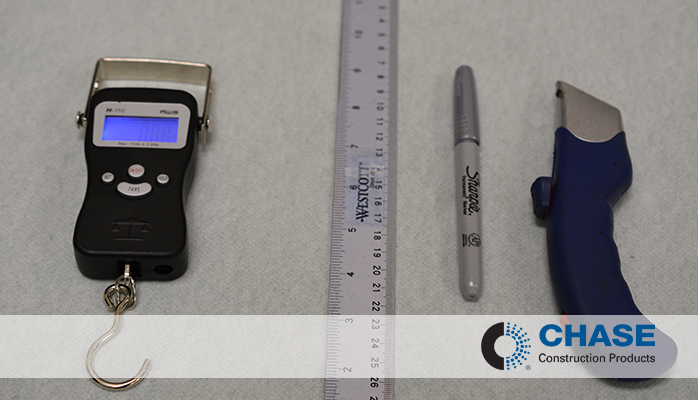
Image:Electronic scale, ruler, pen, and knife
What procedure should you follow to complete the test?
Step 1-Sample Preparation
- Apply the sample as agreed upon with the client, noting any differences from the recommended procedure.
- Allow to wet-in under conditions agreed upon with the client, noting any differences from the recommended procedure. We recommend a minimum of 24 hours as this is the same time used in laboratory testing.
- Cut a test strip 25 mm (1”) wide [or other width as appropriate] and approximately 250 mm (10”) long from the material applied to the substrate.
- Place the cutting template on the sample and cut down either side with a sharp knife.
- Wearing a cut-resistant glove and using a spatula, ease a length of strip about 50 mm (2”) long from the substrate and bend back. This will provide a "tail" to be held by the roller grip.
- Mark indicator lines in the appropriate colour every 25 mm (1”) on or beside the cut strip.
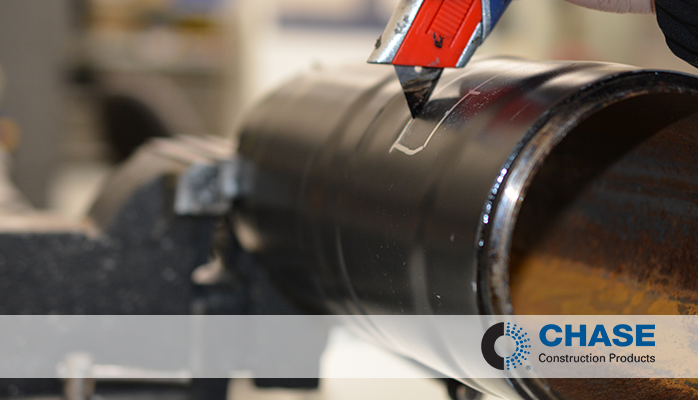
Image: Cutting a sample of a tape to peel
Step 2- Determination of Adhesion
- Insert the tail of the sample into the roller jaw and pull gently to lock. Wrap a piece of paper around the tail to keep the grip free from gross contamination by the adhesive.
- Pull the sample back on itself [180°] attempting to maintain a speed sufficient to move the adhesion test front 25 mm (1”) in 10 seconds using the marks as a guide to peel speed. This will give a movement of the roller grip of 300 mm/min (12”/min) -- more if the carrier film stretches. It may be impracticable to strictly control the test speed under changing environmental conditions.
- Tip: If necessary, slow the test speed to prevent "slip-stick" where the load increases then suddenly reduce the speed as the sample is peeled.
- Record the average and maximum loads shown on the spring balance in kilograms.
- Tip: Calling out the load at intervals for noting by an assistant has been found to be effective.
- Calculate the peel strength by multiplying the average load by 9.81 to convert to Newtons and divide by 25mm/1” [or the peel strip width in mm if appropriate] to give the peel strength in Newton per millimetre width [N/mm].
- Tip: The results should not be quoted to an accuracy greater than 0.1 N/mm
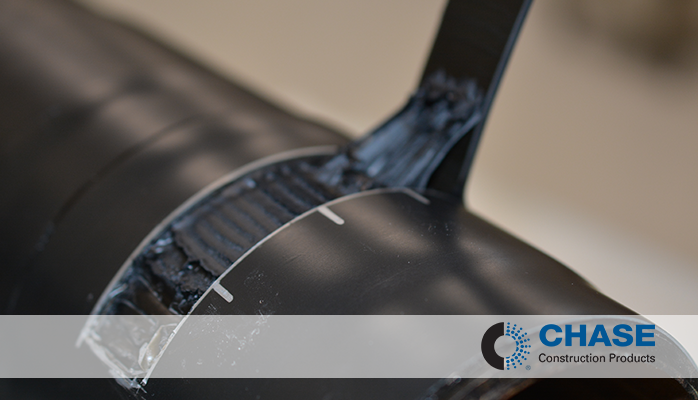
Image: Peeled sample of a pipeline tape
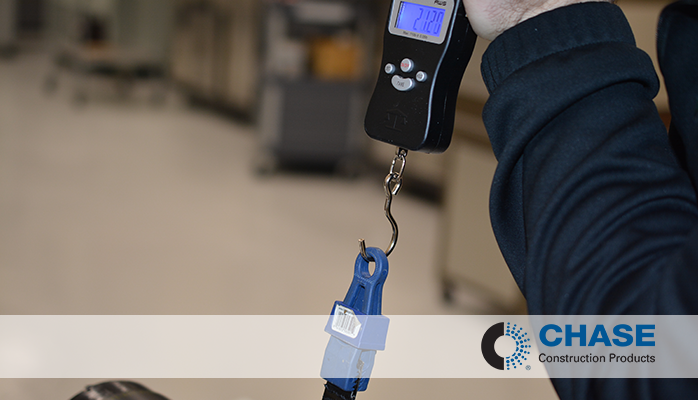
Image: Measuring the amount of peel
Step 3- Reporting and Recording of Results
- Record the peel adhesion results appropriately, for example in a laboratory notebook, giving both the average and peak values.
- Note the nature and preparation of the substrate.
- Document the conditions under which the test was conducted, including substrate, wetting-in time, temperature, and any post-application activities.
- Report the test conditions and results in the format agreed upon with the client.
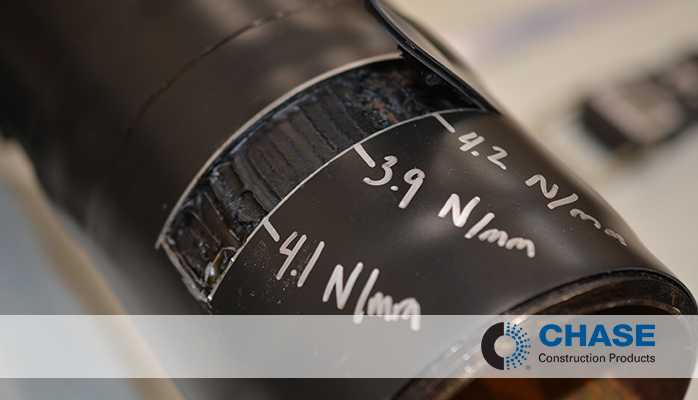
Image: Measurements taken of a peel (N/mm)
Testing the adhesion strength is a critical component of a successful application of the material.
Please contact us if you have any questions.
.png)
.png)