Installing Waterproof Sheet Membranes Waterproofing sheet membranes are specified and installed on...
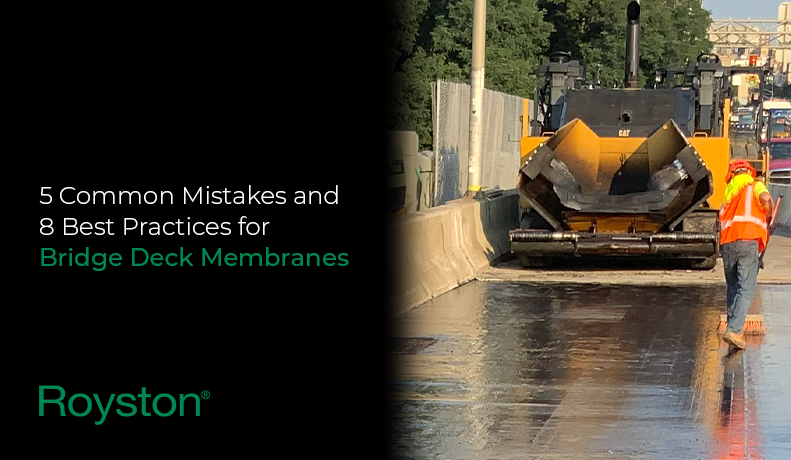
5 Common Mistakes (and 8 Best Practices) for Bridge Deck Membranes

The waterproofing sheet membrane system is a reliable and durable method of protecting bridge structures from moisture and chlorides. A properly installed membrane with an asphalt overlay will extend the service life of bridge structures.
Any installation defects that show up in the first year after placement can be very costly to repair. These issues can be avoided by following the manufacturer’s installation guidelines. Below, I will describe the common dos and don’ts for the successful waterproofing of bridge structures.
The 5 Most Common Waterproofing Mistakes
Let's start off by identifying some of the common application mistakes we've seen in the field.
1) Do not apply the membrane over damaged areas, holes, or sharp projections that might damage the membrane
If the concrete deck surface is too rough, a leveling course of asphalt can be placed prior to the waterproof sheet membrane. Dust, oil, dirt, or any loose and unsound concrete must be removed during the surface preparation.
2) Do not apply the membrane if it is raining or looks like it may rain soon. Similarly, do not apply in foggy weather conditions.
The waterproofing membrane should be applied to a completely dry substrate. Application over a wet surface can reduce the membrane’s adhesion and increase the risk of blistering. The moisture content of the surface can be checked with a moisture meter and should be no more than 4%.
3) Do not install the sheet membrane when the substrate and ambient temperatures are below 45°F.
Use a special cold weather primer for a colder temperature installation if permitted. For more information, check out our article on monitoring temperature during asphalt application.
4) Do not install the waterproofing membrane over expansion joints.
Usually, the expansion joint areas can be covered using masking tape or the membrane should be stopped and sealed near the expansion joint. Applying the membrane over an expansion joint can inhibit the joint's ability to expand and compress with changing weather, potentially compromising the expansion joint.
Refer to the standard drawings or ask for the manufacturer’s recommendations.
Related Article: Edge Sealing Waterproof Membranes
5) Do not install the deck waterproofing membrane if the asphalt overlay placement is not scheduled.
It is an excellent practice to follow with asphalt overlay shortly after the completion of membrane installation. If inclement weather occurs before the overlay placement, inspect for possible water infiltration under the membrane.
8 Best Practices for Successful Waterproofing Sheet Membrane Application
Now that we have reviewed some of the most common application mistakes, let's take a look at tips and techniques for a long service life.
Related Article: Membrane Installation on Bridge Decks
1) Check the bridge deck surface for irregularities caused by the milling process for compliance with the membrane’s Technical Data Sheet.
Proper bridge deck preparation is critical for successful installation. You can learn more by checking out our blog on the subject.
2) Apply the required primer over the substrate at the recommended rate
Refer to the primer’s Technical Data Sheet for curing temperatures.
3) For the deck membrane installation, use a construction level to identify the direction of the slope/grade of the surface.
Choose the lower point of the deck as a starting point for shingled pattern installation. This helps facilitate the proper flow of water. Read more about membrane surface preparation and installation here.
4) With the installation of each section of the membrane, use a procedure to minimize wrinkles and air bubbles.
Apply pressure, ensuring sufficient contact with the deck using a hand roller, squeegee or push broom.
5) Use the manufacturer-specified sealer and mastic to seal the membrane at the termination points, gutter lines, and around the drains.
A heat seal using a propane torch can be an option to help with sealing overlaps and edges.
6) Check the installed membrane surface for damage.
Perform repairs before the asphalt overlay placement or structure backfill. Refer to the manufacturer repair procedure.
7) Place protective boards before backfill operation.
Install protective sheets over the membrane to keep the membrane from damage by backfilling material. Some membranes, such as Royston 108ARN, are manufactured with the protective surface layer and do not need an additional barrier.
8) Check the asphalt temperature before starting to pave the overlay.
The temperature of the asphalt concrete mix is an important part in ensuring the success of any asphalt overlay installation and must not be overlooked. Improper temperature of the asphalt overlay mix contribute to de-bonding of the asphalt overlay and the underlying surface which can potentially result in slippage.
Closing Thoughts
The final “do” for the waterproofing membrane installer: If you have any questions or require information or assistance on your next project, please visit the Chase website at www.chasecorp.com.


